Tuesday, November 29, 2011

Halvdrall kitchen towels

Oct 31 2011


11/28/2011 Finally got it on the loom and started!

close up
Here is my current project.  This is an overshot pattern, and I am changing not only the weft color but the tabby color with each strip of weft you see here.  Whew its going to take a while, but I am trying to get it done for Christmas presents.  The pattern is half, one, and one and a half inch stripes in blue, red, green and purple.  The blue is not as light as its showing in the photo. I have a few threading errors, this one was tough.  I thought about it, fixed one of them that I thought looked bad, and then thought, they are design elements!  

Saturday, June 25, 2011

Needle Felted Lamb

Felted Lamb
Take some freshly shorn Romney wool and wash and dry it

Card it with your Ashford Flick Carder
When it is all nice and fluffy, blend in some black mixed breed wool with your Ashford Flick Carder.  Reserve some unblended black and white for later.

Blend until you have a nice mix, but not so much that you can no longer see the individual colors.
Gather your felting supplies.  A hard surface if you are working on your lap, or a work table.  A towel to keep the fleece from sliding off.  Your choice of felting needles, I like the Clover Pen Style Needle Felting Tool which has two needles in it, but you can use a single just as easily.  You also need either a felting mat or brush to work on. 

We will start with the legs of the lamb. Use the mixed wool in all steps unless otherwise instructed.  You want to make 4 evenly shaped legs, about the size of your pinky, felting stiffly the bottom 2/3rds.   To make each leg., roll a tube of wool and lay it on your mat or brush and poke it with your felting needle and turn it as you go, to keep the leg an even tube.  Be sure to round the ends of the feet and leave the top 1/3 loose and fluffy to attach later.
Next make the body, roll an oval ball about the size of the palm of your hand.
Felt the entire ball until firm, adding more layers of wool to get the size you want. 

Next we want to attach the legs to the body. 
Starting with the hind legs, lay the fluffy top 1/3 that you did not felt over the round body of the lamb, felt in place.
Repeat for the rest of the legs, positioning them two in front and two in back.  Here is where I am working on the back legs, smoothing the fluffy tops around the body evenly.  When attaching the legs, don’t forget to go to the inside of the legs as well.  You want your lamb to be able to stand on its own.
Add a small tuft of wool for a tail, shaping as you prefer.

Next make a small ball of wool for the neck.  You can attach it now to the body or attach it to the head here in a moment, and then to the body, whichever is more comfortable for you.  I have attached it here to the body.

My lamb is a black faced lamb.  Roll a ball, about the size of your first joint of your thumb for the head out of the black wool.  Leave some loose like you did for the legs on one side to attach to the neck and attach it, working the wool over and onto the neck
Be sure to felt the head and neck on tight, checking during felting, and checking that your head is not too heavy or large for your lamb to stand on its own.  It’s easier to pull off and make a new head now than later.  .  Take a few wisps of mixed wool and layer it over the join of the head, to blend in the black of the head to the body more evenly.


Time for some little ears!  Roll a very tiny little ball of mixed wool and flatten it
Decide where you want your ears to be on the head and felt a little dip in the head where they will be placed.  Then felt the side of the ear in the dip and shape and form the ears so they stick up.
Next are the eyes.  Use some of the white wool and like you did with the ears, locate on the head where you want to place the eyes and felt a little first.  Make a very tiny round ball of white and felt it into the head, sinking the eye in some.  Felt a little for a smile or mouth if desired.
How does she look?  Have any loose parts?  Go over the body and felt any loose areas.
 

All done!
As an option, if you want, you can also add a tongue to our little lamb.  Take a little tuft of white and felt a flat ball.


Just like you did for the ears felt in a little tongue in the mouth.  I found it easier to felt from the top to the bottom.


Thanks so much and enjoy!


Sunday, June 12, 2011

Noelle had a little lamb

My first attempt at a needle felted lamb.  Made of 100% wool, with no chemical processing.


Friday, June 3, 2011

Wet felting, a first try

So, as you know I bought an Ashford Joy spinning wheel a few weeks ago, and have not yet figured out how to spin.  I signed up for a class, so that problem will be solved soon.  I was perusing the Ashford website and ran across their Ashford club.  It was not too expensive so I joined.  One of the benefits, other than the coolness of getting a magazine mailed to me from New Zealand, is they have member's only competitions.  They have two different competitions going on right now, both for different drum carders.  Oh how I would love to have one!  The one that expires soon, I just cant think of anything for.  But the one that expires at the end of June, well now that inspired me.

The challenge:
Prepare a batt blending colours and or fibres using an Ashford Drum Carder or Ashford Hand carders and then show us what you have made with the batt.  The winner gets a new Drum Carder!


Well, I had just purchased an Ashford flick carder, so what a way to christen it than for an Ashford competition!  No, I have no hope for winning, this being my first carding project and my first wet felting project, but ... I just have to try!  I may use this first one as my trial, and then do it again for the contest.

I started with a roving of black Corriedale wool and another of natural undyed Merino wool.  I was very curious how these two opposite colors would blend.  To use a flick carder you only have one carder, and then you 'flick' it on a heavy piece of leather, blending the different fibers. 


You can see my little pile of mixed fibers coming together,  I wasnt trying for a true gray but more of a variegated look.  This happened to be harder than I thought it would be.  I tried using the carder like a comb as well, which did about as well.
 What to make....well for my first project, I am just going to make up a small square table decoration, just something to try out the process.  So first, you need bubble wrap, the small kind, and some kind of fine mesh.  I used an old sheer curtain piece.  The bubble wrap helps with the felting with the bumpy surface.  You start by laying small thin sections of the batt on the sheer which is on top of the bubble wrap.  I really should have had a piece of bubble wrap that was larger than my project, this did prove to be the first problem with this trial.
 Then alternating directions you put on at least 4 or more layers
 Then cover it with another layer of sheer.  Then comes the 'felting' part.  This is where you wet the felt lightly with soapy water, and then rub on the top of it, going in all directions.  You do this until the felt no longer pulls hairs off when you test it.  Then comes the fulling part.  This is where you roll it up in a tube and and then roll it back and forth, tightening your roll up if it gets loose.  You do this until when you pull on the grain of the fabric, it doesnt pull apart.  I thought I had done both of these steps enough.  Now you rinse it alternately in hot then cold water.  This is the first time having two sinks in the bathroom was actually useful.


 Then you roll it up in a towel to get all the water out. and then you let it air dry.
What I learned from this project, is see here where I was trying for some dimension with having a middle stripe of fibers going the opposite way?  I did not pull these fibers as thin as the rest of the fabric and they also did not felt as well and are not stuck as well as the rest. 

I certainly like the carding for blending the fiber, but am not yet sure I like wet felting.  I may try blending some more and then trying out needle felting, which I have done once before a little of.

Tuesday, May 31, 2011

Fleece, its what you need to spin!

So to go along with my new spinning wheel I want to also learn to prepare fleece.  I did some research and for American wool, there are a few breeds of sheep that are easier to spin than others.  I read about some of the breeds and decided a full blood Romney is the breed I want to try to find and spin.  I found several folks on the internet who sold Romney roving (already prepared for spinning) but I wanted to do it myself.  I have practiced some with carding with Liesl, but have not done it alone yet.  I also researched the difference between carding and combing, and based on the type of fleece I am planning on obtaining, I want to comb it.  Tool research is next.

When looking for a fleece, I ran across Skylines Farm http://www.skylinesfarm.com/ in Idaho.  They are a small run farm, and avoid chemicals in their practices.   http://www.skylinesfarm.com/managementpractices.htm Their sheep are raised specifically for spinning fleece.  They have sound fleece practices and I loved their photos and information they shared on their website.  I emailed Melissa and we had a great dialog back and forth and she answered all my questions.    I decided to start small, and the sheep Bonnie had a lovely half a fleece available - see here is a photo of it:

I will be getting 4 pounds of it, look how clean and lovely it looks! What is so cool, is I can even reserve Bonnie's or any of their other sheep wools not yet spoken for,  for next year.  That is almost like its my sheep :) Isn't that cool? 

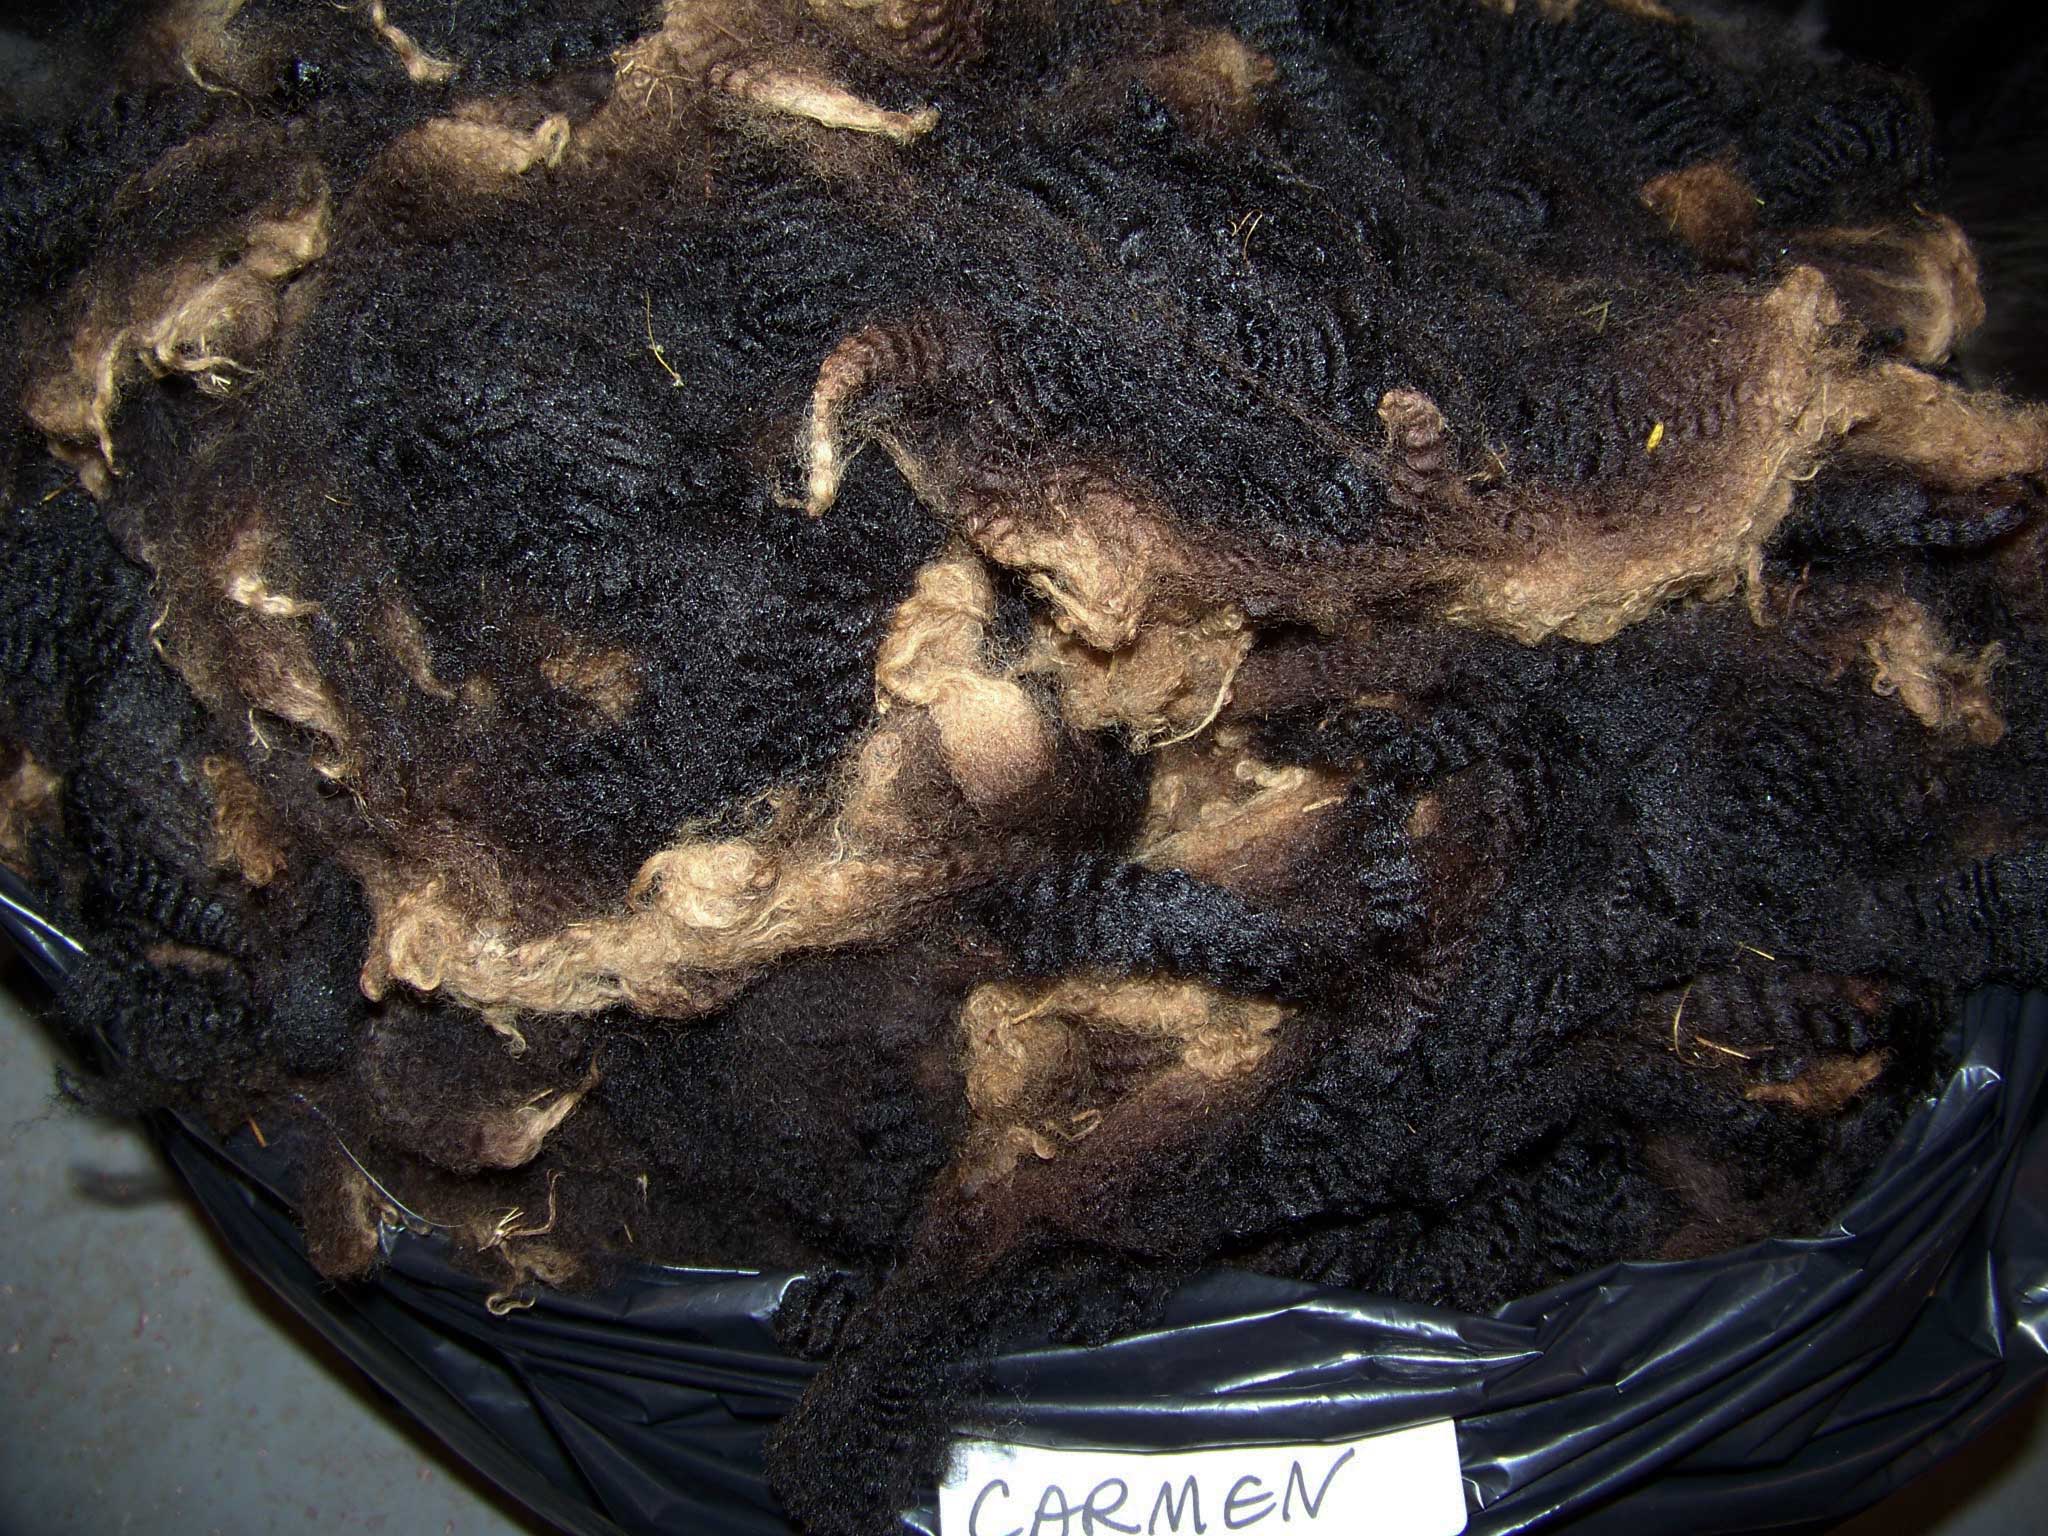
There are several types of both natural color, and white sheep on this farm.  I wanted to start with white, mainly because I plan to try to dye it too.  BUT, they had this really lovely almost black fleece they had not sold yet.  I dont think two fleece are in my budget nor expertise, but I asked Melissa if I could maybe just have a little lock of this lamb's fleece, just to how it feels/looks compared to Bonnie and she said no problem.  See look at this, isnt the color beautiful!  Maybe next year?


What fun this adventure is going to be!

Monday, May 30, 2011

Frances Forstner Home Study Course, OHS Weaving Certificate Course

I was reading in the March/April Handwoven magazine about different guild rating and study programs and it talked about this program in Canada for home study for weaving.  I thought, well, there has to be something here in the states for that.  I am already a member of the local Weaving Indiana guild.  Weaving Indiana does not have any kind of formal learning program but does sponsor some workshops (of which I have already signed up for the one coming in September, three days in Arcadia).

 I joined the Handweavers Guild of America, because they have a certificate of excellence program, and ordered their handbook.  Of course, I just went to go look for it and could not find it, and now I am not sure I even got it, but I read something that caused me to believe that program was not the program for me.  I want something that is going to teach me, as well as test me.


So I email the folks in Canada to get more information on their program.  The magazine just had a one page article.  Here is a link to the program outline.
http://www.ohs.on.ca/~ohsonc/index.php/download_file/view/25/176/
The program consists of 18 units.  I read the descriptions, and it sounds like it could be fun.  So I contact the lady again from the program and fill out the application and mail it to Canada (had to go to the post office for special postage to Canada) They take Visa, so thought I would try how that works in Canada.  Well, Visa charges some sort of fee for international purchases, plus Canadian dollars do not equal US dollars, so the membership was a little more than the $60 since it was Canadian.

Once I got my membership, which my card and packet was mailed to me, I emailed my contact again and since they now have my card on file, I could order the Unit 1 packet so I could take a look and see what all was involved, how much info it has, and if this was something I could and wanted to really do.   I also ordered the student handbook, which is a one time thing that gives things like standards and grades and what types of equipment are needed for each unit and how to submit the samples for grading.

Unit 1: Basic Weaves
Objectives: Student will be able to weave and draft 14 weave structures based on plain weaves
and twills. Student will become familiar with the 12 basic colours in the colour wheel and
will create original fabrics based on the above.
Content: a) 14 weave structures using 12 hues of the colour wheel as selected by the
student including solid with pick and pick to introduce new colours.
b) Originals - combine parts of the 14 weaves to create three original weaves to give
the following effects:
1) Colour effect
2) Weave effect - pattern
3) Weave effect - texture
c) Characteristics of wool.

Now I wont be copying any of the actual program here, but the above outline is part of the public link so figured that should be ok to post.  This gives an outline of what the unit is and it sounds like that should be pretty easy.....until you read it a couple of times.  For this unit I need wool in all 12 colors of the color wheel.  AND I need to weave 14 samples, plus create three original designs based on what I have learned and have samples of that.  THEN I have to weave at least 2 yards (that is a lot for me) of one of these new weaves and explain what I would do with it.  I have to mount these samples in a certain way and submit the yardage as well.  This is just Unit 1.  Wow.

Luckily, with this course, I also get an instructor to email questions.  Am so glad I did.  I have not started yet, as I want to finish a couple more towels before I start it, but she gave me a few typo corrections already and is there for any questions as I go along.

There is no time limit for completing a unit.  They grade three times a year, 1/31, 5/31 and 9/30.

If this course is this intense for each unit, then I am definitely going to take a while in doing this, plus should learn quite a bit as I go.  Sounds like a wonderful challenge.  My goal is to complete this unit for the September submission.

Friday, May 27, 2011

New Addition, Ashford Joy Spinning Wheel

I wasn't going to, was going to wait a while, but then a store going out of business with 30% off changed my mind!  I can't wait to learn this bad boy!

Monday, May 16, 2011

A request from a great friend

5/19/11
A very good friend of mine, Alice, contacted me today.  She asked a simple request, would I make an inkle trim cord for her handfasting.  Of course!  I feel like I have grown closer to Dan and Alice over the past year and count them both as great friends.  I was honored to make an important item for them, especially with an art, weaving, that I so enjoy.


Their needs were simple, they wanted purple in it, they like color, so any highly saturated color for contrast would be great, or a variegated.  Orange, red, teal would be fine.  They asked for some type of pattern, just to show off the color, but nothing complicated. 1/2" or 1" would be great.   My  larger loom will be the length.

With that, I began thinking, really thinking.   I have a short time so needed to use something I already have. It was providence that I have these colors already in my stash!  I have some great soft silky bamboo, which I chose that as the fiber to symbolize sex and intimacy, in this dark orange for Alice and deep purple for Dan, with a little accent in the design and edged in white.     I know white isn't bold but I wanted a real contrast in the darker colors, and plus wanted it to symbolize love and purity of marriage.  I found a pattern in a book, one I have never done, plus I tweaked it a little.  Here is the design that gave me inspiration (I am only using part of this design, the pink/green with navy outline, but in orange/purple with white outline:


Even though they are having the hand fasting sooner, I wanted to use the wedding date of 9-24 in my design.  The design will be 24 threads wide, should be at least half an inch with that many I am hoping, might be slightly less but I thought to sacrifice width for number.  That gives the 24 part.  Now, for the 9, I have integrated that in the design threads.  The colors of purple and orange will "overlap" by 9 threads, with a design that made me think of interlocking fingers (looks like interlocking combs), to represent hands clasped together.   

Here is my work up:
I will warp up the loom tomorrow.

Michael took some photos of me warping it, but he hasnt given them to me yet :P


The flash kinda blew out the colors on this one.  All warped up and ready to weave.


 I couldnt get this one in focus as well as I wanted.

5/27/11
I got it finished tonight.


  Minus tassels, its 92 inches long- a little shorter than I thought it would be.  It looks so small in the photo!